Showing posts with label Recipes - Main Dish. Show all posts

Thursday, December 12, 2013

Recipe for Homemade Beef Stew


In my opinion nothing is better on a cold day than a hearty bowl of stew and a few weeks ago I decided to make a pot.  I had an incredibly tough piece of beef and I figured a stew would be the best option.  


I cut the meat into 1" pieces and browned them up in some hot oil and seasoned with salt, pepper and minced garlic.  I actually forgot the meat for a few minutes.  Luckily it didn't burn, but browned much more than I usually would have let it and I think this was a wonderful oops as the stew had an amazing flavor.


The reason I forgot to watch my meat browning was I was busy chopping onions, celery and carrots.


I removed the browned meat, but left the drippings.


I then added the chopped vegis and let them saute in the drippings. 


Once the vegis were tender I added 3 peeled and cut potatoes, about 6 cups of water and 1-2 tablespoons of beef broth powder.  I also added the browned beef and let the stew simmer for about an hour.  I added a bit more salt and pepper for taste.


Before serving I mixed up some water with 2 tablespoons of corn starch and added it to the stew to thicken it.


And here is the finished product.  This truly was the best stew I have ever made.  I can't wait to cut up another tough piece of beef and create another mouthwatering meal.


Wednesday, November 20, 2013

Stuffed Crust Pizza

Many months ago I decided to make pizza and I had a few cheese sticks on hand and thought I would try to make a stuffed crust pizza.  I quickly whipped up a batch of my home made Pizza Crust.  I used my caste iron pan as I love how the crust gets nice and golden.


First, I liberally greased the pan with oil and then patted the dough in making sure I had quite a bit going up the side of the pan.  Because I am super frugal, or as others call me - cheap,  I divided the cheese sticks up before rolling them into the dough.


This is what it looked like with all the cheese nicely encased in the dough.


I always like to bake my crust a bit before adding the toppings.  This way it never gets soggy when I add the pizza sauce.

Sorry about the bad lighting in the following pictures.

Some of my favorite toppings are freshly cut green onions, diced tomatoes and green peppers from the garden, mushrooms, pepperoni, sausage and bacon.  And of course tons of cheese.


And here is the finished product.


As you can see, the cheese in the crust wasn't extremely gooey and so next time I may not be such a tightwad and use whole sticks of cheese instead of dividing them up.  But, man did this taste good!

Notice how I took a bite before snapping a photo.
I have not self control!

Saturday, August 24, 2013

Samurai Sams: Chicken, Carrots and Cabbage Stir-fry Recipe

When on vacation this summer the three families were each in charge of 2 meals.  I made kabobs and tacos.  One of the meals my husband's brother and wife made was a wonderful meal they called Samurai Sams.  They said they had a meal at a restaurant with that name and decided to try making it themselves.  With only 6 ingredients the result was truly amazing and I thought I better share it with you.

Ingredients for Samurai Sams:
Chicken
Cabbage
Carrots
Brown Sugar
Soy Sauce
Rice

My brother and sister-in-law used a whole chicken and cooked it in a crock pot with water, salt and pepper.  Instead of cooking a chicken all day I decided to use 3 frozen chicken breasts and boil them with salt, pepper and celery.  This took about 30 minutes and once done, I shredded the chicken.  Then I thinly sliced 3 peeled carrots and chopped half a cabbage.  


Next, in a sauce pan add 1/2 cup brown sugar, 1/4 cup soy sauce and 1/4 cup water.  Bring to a boil and allow to simmer.

I know many people love their rice cookers, but my kitchen has limited space and I don't have room for another appliance.  I like to cook mine on the stove in a small pot.  Bring 2 cups of water to a boil and add 1 cup of rinsed rice.  Stir, reduce the heat to a simmer, cover and let cook for 18 minutes.  When done, fluff with a fork.


My sister-in-law cooked the chicken separately from the vegis, but in my quest to dirty as few pans as possible I fried all the ingredients together.

In a bit of oil fry the carrots for a few minutes until they become slightly tender.  Then add the cabbage and continue cooking.  Sprinkle with salt and pepper to taste.  Finally, add the chicken and cook until heated through.  Add more salt and pepper if needed.


In a bowl spoon the rice on one side and the chicken and vegi mixture on the other.  Spoon 1 to 2 tablespoons of the brown sugar mixture over and enjoy.


Tuesday, June 4, 2013

Chicken and Pasta with Sun-dried Tomatoes and Spinach Recipe


I love this recipe because not only is it super yummy, but it is fairly healthy.  I wish I could remember where I found it, but I believe I cut it out from a newspaper somewhere. As always I changed a few things. First I added chicken.  I can't imagine eating just plain pasta - I need a bit of meat in my meal.  Also, I used fresh spinach instead of frozen.  To me frozen spinach smells like fish and even tastes like it too.  Plus there is the nasty, slimy texture.  No wonder so many people hate spinach and if you are one of those who won't go near it with a ten foot pole I would suggest trying this recipe out.  I used to be just like you. Throughout my life I have detested most vegetables, especially ones that have been cooked.  When I was little my poor mother could never get me to eat my vegis.  Plus recently I have found out I am allergic to most vegis (and even fruits) when eaten raw.  So it's hard finding something I like and can eat without having my lips look like Bubba in Forest Gump.  So give this recipe a try:  simple, delicious and healthy.


Ingredients:
  • 1 - 1 1/2 lbs Boneless/Skinless Chicken Breasts
  • 1 lb Pasta 
  • 8 oz. Fresh Mushrooms, washed and sliced
  • 1-2 Garlic Cloves or Garlic Powder
  • 1/4 C Olive Oil
  • 1/2 t. Red Pepper Flakes
  • 12 oz. Fresh Spinach
  • 1/2 C Sun Dried Tomatoes - Sliced
  • 1/4 C Fresh Parmigiano Reggiano Cheese
  • Salt, Pepper and Garlic Powder to taste

First, brush the chicken breasts with olive oil and season with salt, pepper and garlic powder.  Bake for about 45 minutes or until done.  Cut into thin slices.

While the chicken is baking whisk together the olive oil and red pepper flakes and let sit.

Put a pot of water on the stove to boil for the pasta and cook according to the directions on the box.  For this recipe I like bow-tie pasta, but any of your favorite shapes will work.

Since a watched pot never boils, divert your attention to the mushrooms.  Saute them with a bit of oil and salt until tender.

Once the pasta is done cooking, drain and return to the pot.  Add your spinach to the pasta, stir and cover. Let sit for a few minutes so the spinach will wilt a bit.  

Once your spinach has wilted add the sliced chicken, the olive oil with red pepper flakes and the sliced sun-dried tomatoes.  Stir in the cheese.  I never have fresh Parmigiano-Reggiano cheese on hand, but I usually have an Italian blend and that works well.  Give your pasta a taste and add some salt, pepper and garlic powder if needed.

This is a wonderful and quite simple recipe to make.  Plus my family likes it and I hope yours will too.

Friday, May 17, 2013

Sausage and Mac & Cheese Bake Recipe

Early Spring and the only plant out of
the ground were my onions.
This recipe comes from my mother-in-law.  When we lived in the same city as my in-laws she would make it for me quite regularly. I believe the main reason she would make this for me so often was it had vegis in it and I would actually eat the broccoli.  She always felt I needed the extra vitamins as I hardly ever ate vegetables. But what really mystified her was how tall I was as she equated height with nutritious living.  If that is true I should be a midget - I hate all foods that are deemed "good for you."  Anyway, this is a wonderful recipe and fairly easy to make.

Ingredients:

  • 1 Box Mac & Cheese
  • 1 Bag of Frozen Broccoli
  • 1/2 of a Ring Sausage, cut into pieces
  • 1 Can Cream of Celery Soup*
  • Green Onions


Make your mac & cheese according to the directions (I omit the butter though) and cut up the ring sausage into 1 inch slices.


Take a bunch of green onions and dice them.


Once you have prepared the mac & cheese combine all the ingredients and mix.  Cover and bake in the oven at 350 for about 25-30 or until heated throughout.


And here it is:  a meal that even the pickiest of eaters (I know because I am one) will eat.

*When I no longer have any condensed soups left I will try to make this completely from scratch and let you know how it works out.

Tuesday, May 7, 2013

Chili Recipe

Every now and then when I open up my freezer and dig around in it I find some forgotten hamburger that is getting a bit old and so I use it up to either make tacos or chili.  My chili recipe is my mothers, but I have tweaked it a bit.  It's super easy and I love it because I can make so many suppers with a batch of chili:  first night we have chili, the next we have baked potato with all the fixings and the third night I make chili dogs.  Plus I like to make that yummy dip with Velveeta, chili ans salsa.  I always make a huge batch so that I am able to freeze enough for another meal or two.  Another great thing about chili is I use it to get rid of leftovers in the fridge.  For example I will use tomato soup from our grilled cheese meal, fried hamburger that I didn't use up completely in another recipe, a bit of rice and I have even thrown in a tiny bit of spaghetti sauce.  Because of this, my chili is never the same, but it always tastes good.

Ingredients for Chili 
(these are all approximates, as I just throw stuff in until it tastes good)

  • 2 lbs. Hamburger
  • 1-2 Onions, chopped (I like mine in big chunks, but if your kids hate large pieces of onion, chop them finely)
  • 1 Qt. Jar of Tomatoes or Stewed Tomatoes
  • 2 Cans Tomato Soup
  • Salt and Pepper to taste (approximately 1 t. each)
  • 1-2 T. Chili Powder
  • 2-3 t. Cumin
  • 2-3 t. Garlic Powder
  • 2 Cans Of Your Favorite Beans Rinsed and Drained or 1-1 1/2 C. of Dried Beans, soaked and cooked according to directions.  I love the 3 Bean Chili beans from Azure.  I will never go back to canned beans again.

First, brown the hamburger with the onions and drain the grease.  Sprinkle the meat with garlic, salt, pepper, chili powder and cumin.  Add the stewed tomatoes and concentrated tomato soup, but do not add water.  Bring to a boil and then reduce heat and simmer.  Stir now and then.  I let my chili simmer for close to an hour.  Give the chili a taste and add more of the seasonings if you need. About 30 min. before serving add the beans.  I really like a lot of cumin in my chili and I never skimp on the garlic.

Serve with crackers, cheese, sour cream and a side of warm cornbread.  A perfect meal for a cold day.

Wednesday, May 1, 2013

Oops. I accidentally made cheese! Now what?

My accidental buttermilk cheese


A few days ago I decided I needed to make some more buttermilk and I had such good results from my first attempt I wasn't worried. Well, after 24 hours of sitting my jar looked like this:  a big glob of white stuff floating on top of a slightly colored liquid.  What really irritated me was not that I had accidentally made cheese, but that I had just used up the last of my buttermilk and I would have to go out and purchase some more.

On an even more irritating side note, my local Sams Club didn't have buttermilk (they always had the best price).  Who knows if this is a permanent situation or they had run out.


Anyhoo, back to my accidental cheese making.  The cottage like cheese was a bit sour and since I really dislike cottage cheese I decided to use it in a lasagna.  About 2 months ago I had made a lasagna and had boiled up a whole box of the noodles.  I had quite a few left over and so I froze them in between layers of wax paper.  I thawed them out, fried up a bit of hamburger with onions and seasoned it and put together the lasagna.

First layer of the lasagna with my homemade cheese.


What came out of our oven was probably one of the best lasagnas I have ever made.  I don't know if it had to do with my accidental cheese or it may have been that particular day was the first beautiful day in Fargo and I had been working outside all afternoon cleaning up my flowerbeds and garden and I was super hungry, but this meal was amazing.

So, when a recipe appears to have "failed" don't despair and throw it away, because many times it can be turned into something delicious.  I can't wait for my next yogurt, sour cream or buttermilk recipe to "fail" and become cheese so I can make another outstanding meal!

Tuesday, April 23, 2013

Quick and Easy Meat Loaf Recipe with Hash-browns and Corn

"Meatloaf, smeatloaf, double beetloaf.  I hate meatloaf." is not a phrase I have ever heard in my home except when one of the all time best Christmas movies is playing:  A Christmas Story.  We love meatloaf.  We love eating it fresh from the oven.  We love it the next day.  We love it in sandwiches.

I have a wonderful and easy recipe.  It does use a box of stuffing, but I purchase mine on sale around Thanksgiving and buy enough to last me the year.  Last year I was able to buy boxes of Stove Top for only 50 cents each.  I think I purchased 20 of them! 

When we have meatloaf I always have a side of potatoes and corn.  I don't know why, but that is always what I make.  This time instead of baked or mashed potatoes I decided to make hash-browns   I think this may be our new favorite way to eat leftover baked potatoes.  Meatloaf night is always a good meal, but this time it was extra tasty.   

Meatloaf Ingredients:
2 lbs Hamburger
2 Eggs
1/2-1 Onion Diced
1 Box Stuffing
1/4-1/2 C. Barbecue Sauce
1/2 C. Water (if using extremely lean hamburger)


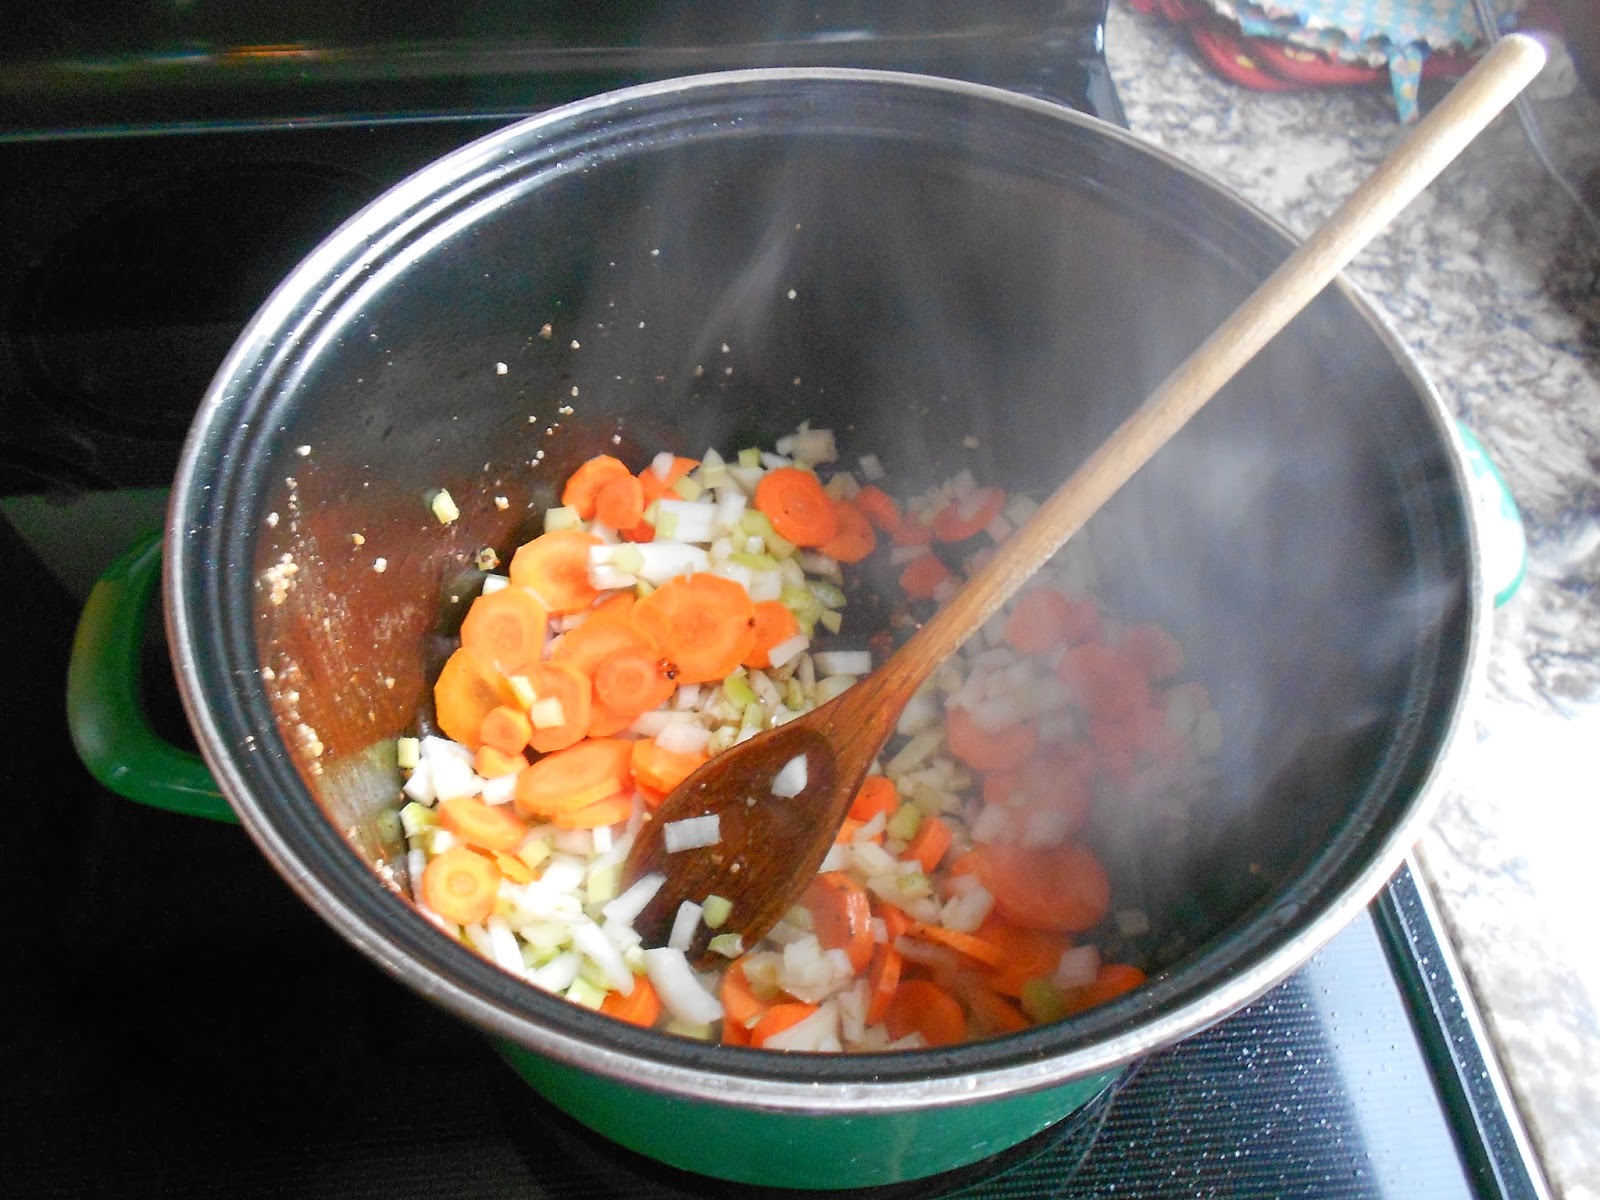
I let my mixer do all the work.  Place all the ingredients into the bowl and use your dough hook to "knead" them together.  Much better than getting your hands all messy.


Once your meatloaf concoction is all mixed together, press firmly into a loaf pan and top with more barbecue sauce.  I love Sweet Baby Rays, but even the cheapest barbecue sauce will taste just fine.


Bake at 350 for over an hour.  I usually place a pan on the rack under the loaf pan to catch any grease or you could line the bottom of your oven with tinfoil.  This way you won't have a huge mess to clean up in your oven.  I can't believe my thermometer says over 200 degrees as the meatloaf was not burnt or dry.  I think I may need to purchase a new and, more importantly, reliable thermometer!


Hash-browns

I had quite a few potatoes that were beginning to sprout and so I baked them.  The next day I decided to make hash-browns with some of them.


First, I pealed the cold potatoes and then grated them with my hand-held cheese grater.  I know many people leave the peelings on the potatoes and grate, but I prefer my hash-browns without the peelings.


I melted butter in my cast iron skillet and added salt, pepper and garlic powder.  Then I added the shredded potatoes and seasoned the top.  I let them fry for quite a while - probably 5-8 minutes or so and then turned them to cook on the other side.  

I have never been able to make my hash-browns like those in restaurants.  I  think my main problem is I am too impatient and hate to wait for them to completely cook on one side, but my family has never complained and they always taste so yummy.


Corn


I also steamed some frozen corn.  When done I added a bit of butter and salt and pepper.


And here is our meal ready to be eaten.  Yummy.  

After writing about this recipe I may be making meatloaf again quite soon.  Not only quick and easy prepare, but a family favorite too.  Always a winner!

Saturday, April 20, 2013

Homemade Pizza with Whole Wheat Crust and Whole Wheat Focaccia Bread

My family absolutely loves pizza, and we love take-out or delivery and even the take and bake pizzas, but they are way too expensive to have frequently.  Therefore, I make a pizza every couple of weeks or so.  When I first started out I would make my crust with white flour because whole wheat was bitter.  Then when I purchased my grain mill I began adding in whole wheat flour, but the crust was too tough when I used 100% whole wheat.  Well, I figured out  through trial and error that the key to making a wonderful light and tasty crust when using 100% whole wheat is to not add too much flour.  I never knead my dough by hand but let my mixer do all the work.  This way I can keep the dough sticky, but still knead it enough.  Now my family raves over the pizza crust.
Tomatoes with seasoning that have
been cooked to thicken.

Before I begin making my crust I start with the sauce.  I use my homemade canned tomatoes and let them simmer on the stove for 40-60 min.  While it's simmering I add a pizza seasoning.  This makes a wonderfully thick sauce once it has cooked down, but if you are in a hurry spaghetti sauce works well.  Many times I make pizza a day or two after we have had spaghetti and use up the leftover sauce.

Now onto the crust.


Pizza Crust Ingredients: Makes Two Crusts
1 1/3 C Warm Milk
2 1/2 t. Yeast
1/4 C Sugar
1/4 C. Gluten
1/2 t. Salt
2 T. Olive Oil
3 1/4 C Whole Wheat Flour


  • First combine the warm milk, yeast and sugar and let sit until bubbly.
  • Next combine the rest of the ingredients, but the flour.
  • Slowly add flour to make a soft dough that is quite sticky.  The dough should stick a bit to your hands if you touched it.


  • Let the dough rest for 10-15 minutes.
  • Divide the dough in half if making two equal sized pizzas.  I usually make a large pizza (2/3 of the dough) and the rest I use to make Focaccia bread (see below).
  • Grease the pan you will be using well with olive oil along with your hands.
  • Pat the dough into the pan. 
  • For the edge of the crust I spray a bit of olive oil and then sprinkle salt, garlic and Parmesan cheese.  This makes a wonderful crust for your pizza.
  • I then bake for a 5-10 minutes so the dough is cooked slightly.

  • Spread the sauce onto the crust.


  • Add meat and vegetables.

This time I used browned sausage for the meat and the only
vegis I had on hand were onions.  I usually like green peppers
and mushrooms but I was scraping the bottom of the vegi
drawer in the fridge this time.  

  • Add your favorite cheese.
  • I like my pepperoni on top of the cheese and then I sprinkle on a bit more cheese. 


  • Bake at 375 degrees for 12-18 minutes or until the cheese has melted and the crust is golden.

Fresh out of the oven.


Focaccia Bread:
For the Focaccia Bread I use the rest of the dough and press down all over with my fingertips to make little dents in the dough.  I then spray with olive oil and sprinkle the dough with garlic powder, salt and rosemary.  I might add Parmesan cheese.


Bake for 10-12 minutes until golden.


We love dipping this in extra pizza sauce or some olive oil which I have added chopped garlic, salt and pepper.

I hope you enjoy this meal as much as my family does.

Monday, April 15, 2013

A Tasty Way to Beef Up A Box of Mac & Cheese


I am not a fan of Mac-and-Cheese.  My kids like it and even my husband likes it, but I could live an extremely happy life without it.  But it is an easy meal to make and quite cheap.  This past fall one of our grocery stores in town was selling this brand for 4 for $1.00.  Now, tell me who could pass that up?  And so I am always looking for different ways to use Mac-and-Cheese. One of my favorites is a sausage and broccoli bake.  I hope to make that sometime soon to be able to show you, but this week I browned up some hamburger with onions, added some cheese and baked it.  So easy and yummy.

Ingredients:
1 lb. Hamburger
1 Box Mac-and-Cheese
1/2 Chopped Onion
Salt, Pepper and Garlic Powder
2 C. Shredded Cheese


First, chop a half onion and add it to a pound of hamburger and brown it.  Once fully cooked, drain the grease.  Season with freshly ground pepper and garlic powder.  Also, you may want to use some salt, but I wait until I have added the Mac-and-Cheese as some brands are quite salty.  After you have mixed it all together, take a taste to see if you need any more seasonings and add accordingly.


While you are browning the hamburger, cook the Mac-and-Cheese according to directions.  Once cooked and drained mix in the milk and cheese.  I never add the butter as the hamburger always has some grease left in the pan.  Another thing I like to do is to add more milk - usually 1/2 cup.  Your Mac-and-Cheese will be extremely runny, but return it to the burner and stir vigorously until the cheese begins to bubble and thickens.  This makes a nice rich and creamy Mac-and-Cheese.


Before it is baked.


Once your hamburger is browned and drained and you have mixed up your Mac-and-Cheese combine the two.  I just pour the pasta into the pan I browned the hamburger in.  Now, don't forget to give a taste test and add more seasonings if needed.  Last add a good handful of shredded cheese.  I always have Colby-Jack in the fridge, but whatever your favorite cheese is will work well.


Once the cheese is melted it is ready to eat.  

Stir all together and place in your oven that has been preheated to 350 degrees.  Bake until warmed through.  My favorite is the edge as it gets a bit crunchy, but my youngest likes the center as it is so gooey from the melted cheese.

This is really a nice way to add some protein to your kids diet, but also a great way to literally "beef" up the plain mac-and-cheese.


Thursday, April 11, 2013

Santa Fe Stew Recipe Made in the Crockpot

My father-in-law introduced me to this recipe.  I love it as it doesn't matter what cut of roast you purchase as it always becomes tender and tastes amazing.  As usual I made a few changes to the original recipe, but the major change is I use the crockpot to cook it all day.  The benefits are twofold:  your meat will always be tender and you don't have to slave over a stove for two hours making sure the stew doesn't burn.  Just throw the ingredients into the crockpot in the morning and by the afternoon your house will smell amazing and you will be able to sit down to a delicious stew.  I hope you enjoy this as much as my family does.

Santa Fe Stew Ingredients:
2 lbs. Beef - Cubed
2-3 Onions - Diced (I like my onions nice and large)
2 Cans Rotel
1 Qt. Tomatoes
2 t. Beef Bouillion
1-2 T. Sugar
2 Garlic Cloves, Minced or 2-3 t. Garlic Powder
1 t. Cumin (I always add so much more cumin - probably about 1 T.)
15 oz. Pinto Beans, rinsed
Salt and Pepper to taste


Brown the beef in a bit of oil.  I usually use my caste iron, but my mother gave me this pan for Christmas and I thought I would try it out.


Add the browned beef to your crockpot along with all the ingredients but the beans.  Last year I made my own Rotel and this time instead of plain tomatoes I added a quart jar of my homemade stewed tomatoes.  I have even used some tomato soup that was left over from a previous meal.  I bet some fresh tomatoes would taste amazing in this stew too.  Really anything goes.


Let cook on high for 6 hours.  Add the beans 1 hour before serving and continue to cook.  I haven't purchased canned beans in ages, but whenever I soak and cook beans I always make extra and freeze.  This time I had mixed beans in the freezer and so that is what I used.  I am pretty sure black beans would be amazing in this stew along with a bit of corn.


Before serving I always taste this and will add more cumin, garlic, bouillon, salt and pepper if needed.  Plus sometimes I will add some chili powder and cayenne pepper if I want it to have more of a kick.  We serve this with shredded cheese and sour cream.